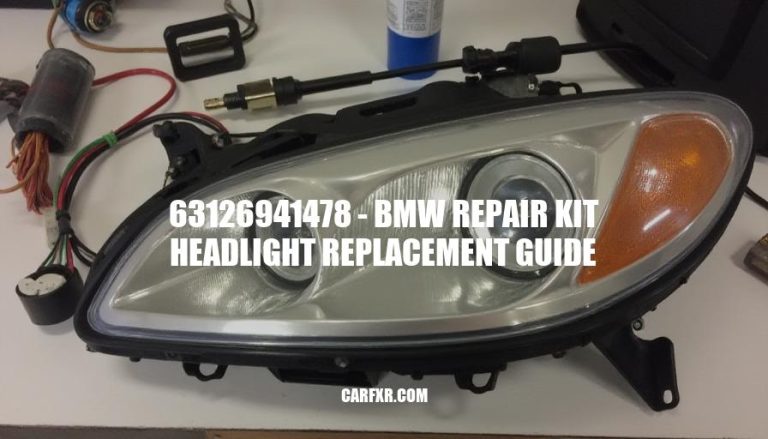
63126941478 – BMW Repair Kit Headlight Replacement Guide

63126941478 - BMW Repair Kit Headlight Replacement Guide

The BMW Part Repair Kit Headlight 63126941478 is crucial for maintaining optimal visibility and safety on the road. As headlights are a fundamental component in a vehicle’s lighting system, this repair kit ensures that any malfunction or damage can be promptly addressed. For BMW owners, this specific part is tailored to fit perfectly, ensuring the integrity of the vehicle’s design and function is preserved.

Investing in this repair kit means prioritizing not just the vehicle’s performance, but also the safety and comfort of its passengers.

Features and Specifications

The BMW Part Repair Kit Headlight 63126941478 is a genuine BMW part designed for headlight repair. It is specifically used for models such as the 525i, 525xi, 528i, 528i xDrive, 528xi, 530i, and more. The part number for this repair kit is 63126941478, and it is also known by the supersession number 63-12-6-941-478.

This repair kit includes all necessary components to service one headlight, and two kits are required per vehicle.

The kit typically includes items such as brackets, screws, and other hardware needed for the repair. The weight of the kit is approximately 0.40 pounds.

The repair kit is designed to be a direct replacement for the original headlight components, ensuring a proper fit and function. It is manufactured by BMW and comes with a factory warranty.

The MSRP for this kit is $53.36, but it is often available for around $45.49.

This repair kit is suitable for various BMW models from 2004 to 2010, including sedans and wagons. It is important to verify compatibility with your specific vehicle model before purchasing.

Installation Guide

  1. Gather Tools and Materials: Ensure you have the BMW Part Repair Kit Headlight 63126941478, a screwdriver, a socket wrench set, and a trim removal tool.

  2. Disconnect Battery: For safety, disconnect the negative terminal of the car battery to prevent any electrical issues.

  3. Remove Front Bumper: Use a trim removal tool to carefully detach the clips holding the front bumper. Lift the bumper off the vehicle and set it aside.

  4. Access Headlight Mounting Tabs: Locate the broken headlight mounting tabs. Use a screwdriver to remove the screws securing the headlight assembly.

  5. Remove Headlight Assembly: Carefully pull the headlight assembly out of the vehicle.

    Disconnect the electrical connector attached to the back of the headlight.

  6. Install New Mounting Tabs: Align the new mounting tabs from the repair kit with the existing holes. Secure them using the screws provided in the kit.

  7. Reattach Headlight Assembly: Place the headlight assembly back into the vehicle. Reconnect the electrical connector and secure the headlight assembly with screws.

  8. Reinstall Front Bumper: Align the front bumper with the vehicle and secure it using the clips and screws.

  9. Reconnect Battery: Reconnect the negative terminal of the car battery.

  10. Test Headlight: Turn on the headlights to ensure they are working properly and securely mounted.

Tips for a Smooth Installation:

  • Work in a Clean, Well-Lit Area: This helps in easily locating parts and avoiding misplacing screws.

  • Use the Right Tools: Ensure you have the correct tools to avoid damaging parts.

  • Take Your Time: Rushing can lead to mistakes.

    Take your time to ensure everything is properly aligned and secured.

  • Refer to the Vehicle Manual: If you encounter any difficulties, refer to the vehicle’s manual for specific instructions.

I hope this helps!

Maintenance Tips

  1. Regular Cleaning: Clean the headlight lens regularly with a soft cloth and a mild detergent to remove dirt, grime, and road salt.

  2. Avoid Harsh Chemicals: Do not use harsh chemicals or abrasive cleaners as they can damage the lens.

  3. Check for Cracks: Inspect the headlight for any cracks or damage. If found, replace the headlight immediately to ensure optimal performance.

  4. Protective Coating: Apply a UV-resistant protective coating to the headlight lens to prevent yellowing and degradation from sunlight exposure.

  5. Secure Mounting: Ensure the headlight is securely mounted and aligned properly to avoid damage from vibrations and impacts.

  6. Replace Bulbs Promptly: Replace burnt-out bulbs promptly to maintain visibility and safety.

  7. Inspect Wiring: Regularly check the wiring and connections for any signs of wear or damage and repair or replace as needed.

  8. Professional Maintenance: Have the headlight assembly inspected and maintained by a professional mechanic periodically to ensure it is in good working condition.

Common Issues and Troubleshooting

  1. Broken Mounting Tabs: The headlight mounting tabs can break due to age or collision. Ensure the tabs are securely fastened and replace any broken tabs with the repair kit.

  2. Loose or Misaligned Headlight: If the headlight is loose or misaligned, it can cause poor visibility. Check the mounting brackets and adjust the headlight alignment as needed.

  3. Damaged Internal Components: If the headlight has been damaged, internal components like the bulb or wiring might be affected.

    Inspect the internal components and replace any damaged parts.

  4. Improper Installation: Incorrect installation can lead to various issues. Follow the installation instructions carefully and ensure all parts are correctly fitted.

  5. Electrical Issues: If the headlight doesn’t turn on, there might be an electrical problem. Check the wiring, fuses, and connectors for any signs of damage or disconnection.

Proper Installation and Maintenance of the BMW Part Repair Kit Headlight 63126941478

Proper installation and maintenance of the BMW Part Repair Kit Headlight 63126941478 are crucial for ensuring optimal visibility, safety, and performance on the road. This repair kit is designed to be a direct replacement for the original headlight components, providing a proper fit and function.

Installation Guidelines

  • Gather necessary tools and materials
  • Disconnect the battery
  • Remove the front bumper
  • Access the headlight mounting tabs
  • Install new mounting tabs
  • Rereattach the headlight assembly
  • Reinstall the front bumper
  • Reconnect the battery
  • Test the headlight

Maintenance Tips

  • Regular cleaning
  • Avoid harsh chemicals
  • Check for cracks
  • Apply a protective coating
  • Secure mounting
  • Replace bulbs promptly
  • Inspect wiring

Having professional maintenance can also help maintain the headlight’s performance and longevity. By following these guidelines, BMW owners can ensure their vehicle’s headlights are functioning properly, providing optimal visibility and safety on the road.

Comments

Leave a Reply

Your email address will not be published. Required fields are marked *

    We handle All types of Repairing issues.

    CarFXR: Your Ultimate BMW Parts & Repair Guide!
    OPEN (Always)
    Parts Finder
    Copyright ©2024 CarFXR. All Rights Reserved
    Contacts Part Categories Privacy Policy